
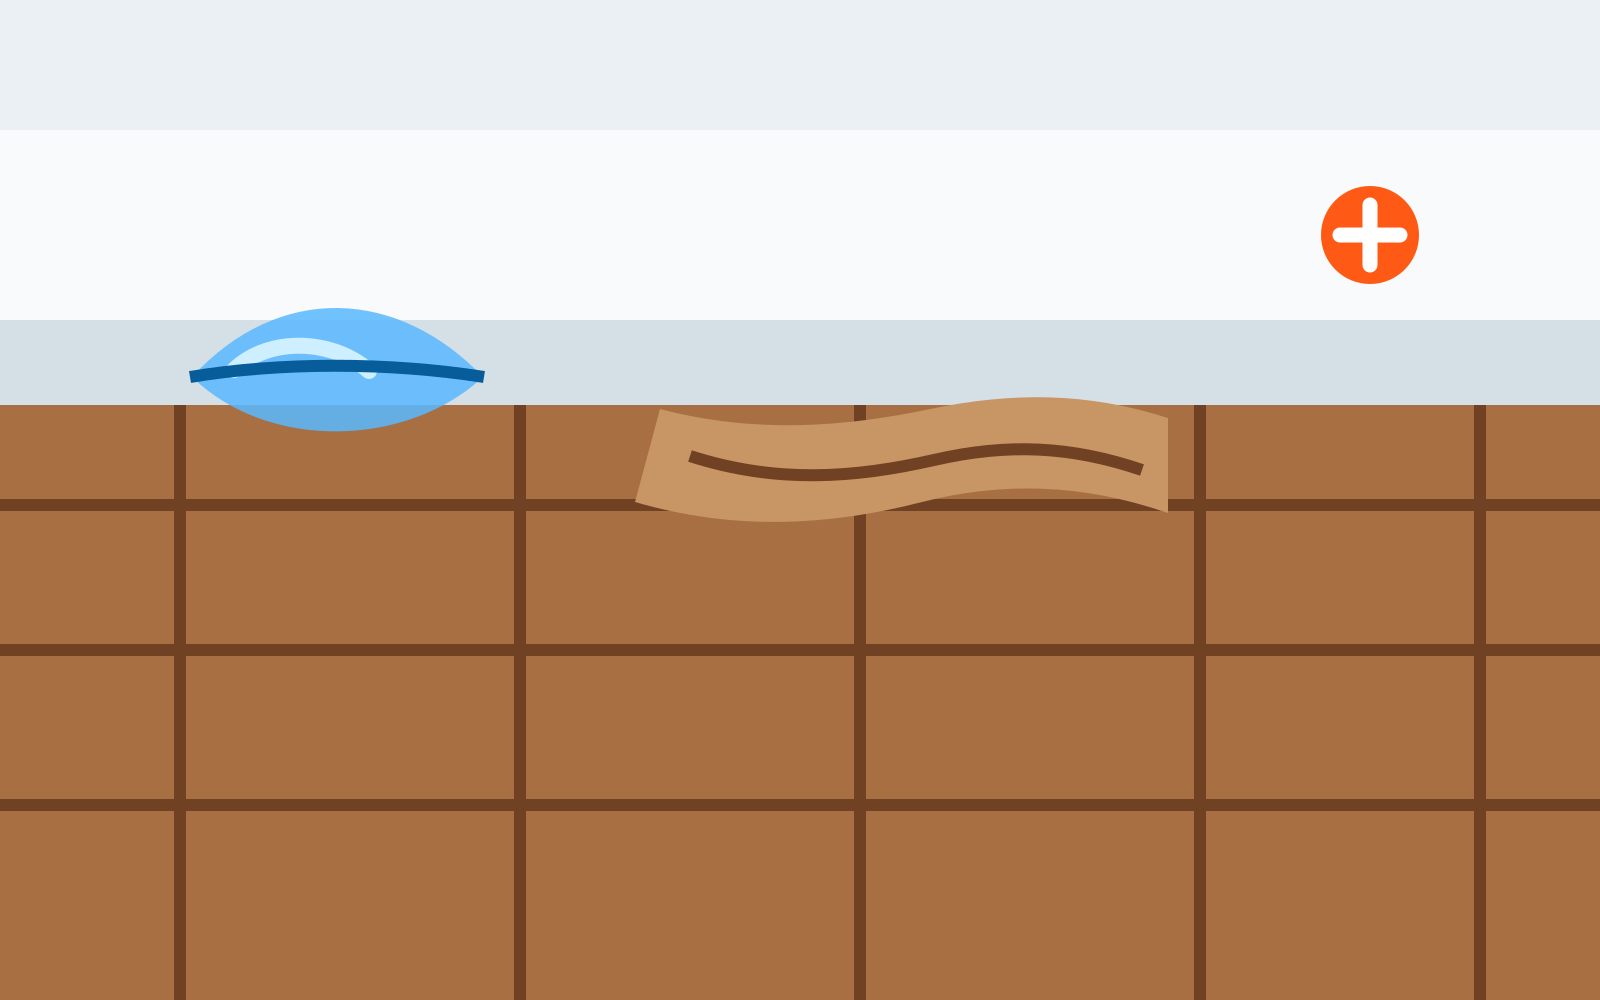
Water on a hardwood floor calls for a calm, measured response. Wood flooring can hold moisture below its finished surface, and the water may also reach the subfloor, baseboards, cabinets, or rooms beyond the visible wet spot. The first job is to stop the source safely and understand where the water traveled, not to decide immediately whether the floor is ruined. Early documentation also gives the eventual flooring professional a clearer starting point after mitigation is complete.
This guide is for a clean-water plumbing or appliance leak after the appropriate repair professional has stopped the source. If sewage, outdoor floodwater, or an unknown water source reached the floor, keep people and pets away and begin with flood and sewage cleanup guidance instead.
Call (254) 482-11511. Make the room safe and stop the source
Do not walk through water near outlets, plugged-in equipment, or a wet ceiling. If a supply line, appliance, or plumbing fixture is still leaking, the appropriate plumber or appliance professional needs to stop it. Drying cannot solve an active source, and adding more water while trying to protect the floor only makes the moisture path harder to assess.
Move children, pets, and loose belongings out of the area if that can be done safely. Take a few wide photos before moving items, then document the source area, the wet floor, the room edges, and anything nearby that changed. Those details can help organize water-damage documentation later.
2. Treat the water source as the first decision
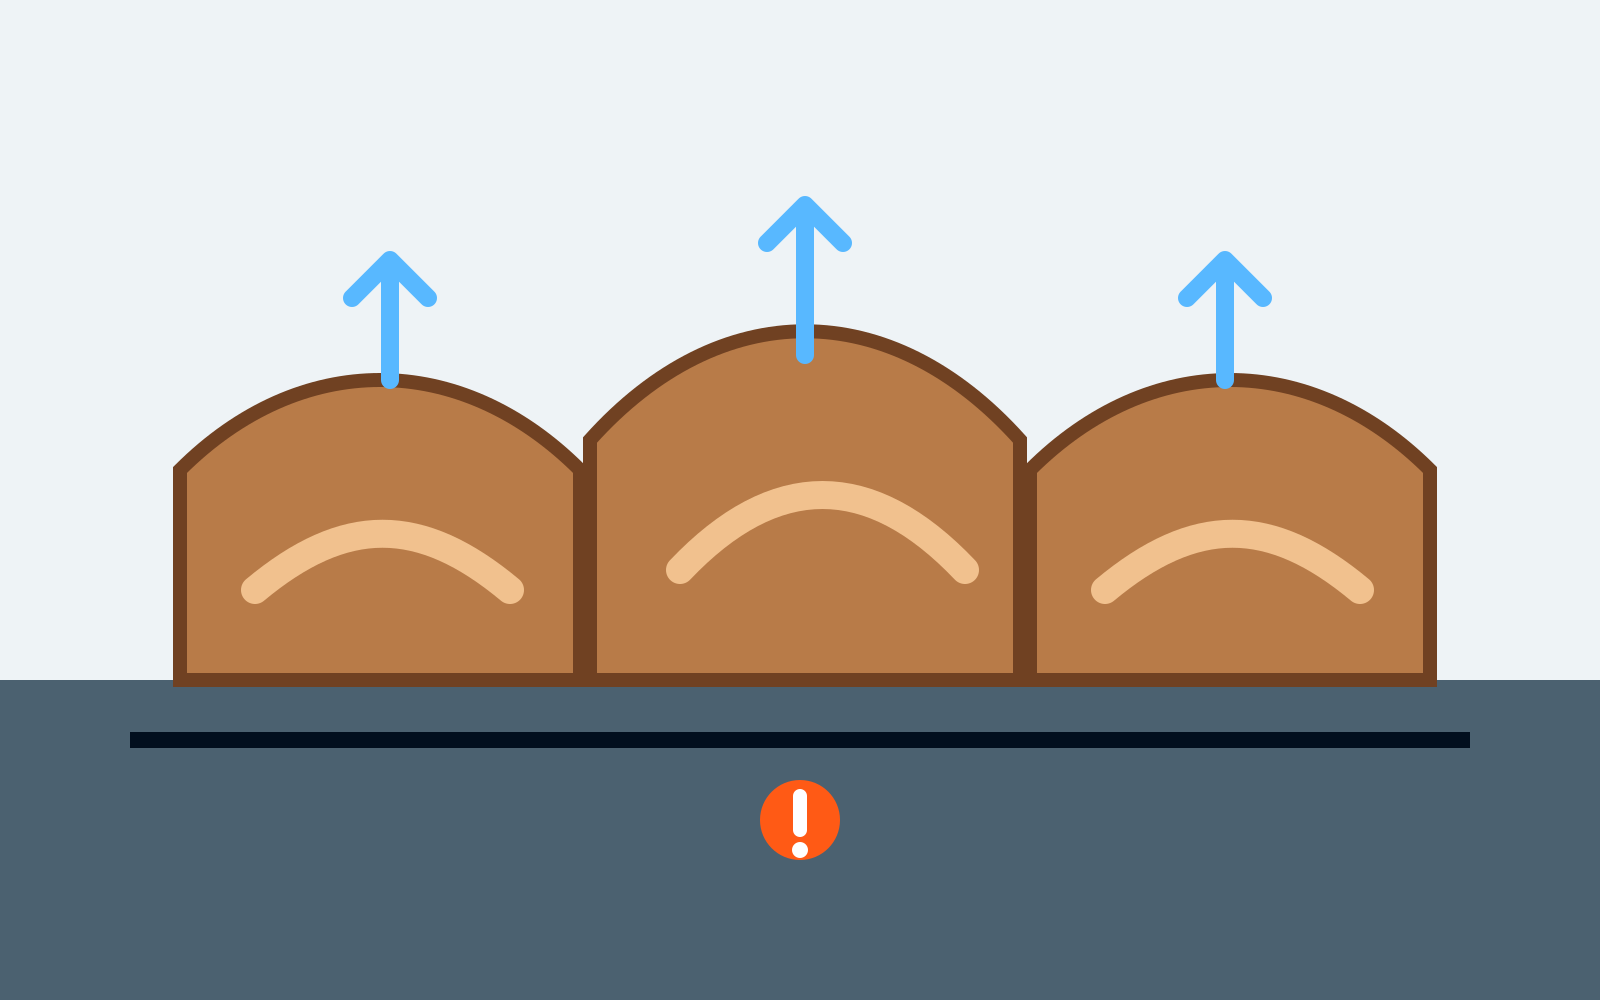
Not all water losses should be approached the same way. A fresh, contained supply-line leak is different from a toilet overflow, sewage backup, stormwater, or water that traveled through unknown materials. Clear-looking water does not prove that it is clean, especially when it has moved through walls, cabinets, or an adjoining space.
The CDC explains that floodwater can carry dangerous bacteria. For sewage or contaminated water, do not set up fans, pull up boards, or attempt routine cleaning. The EPA also advises using a professional experienced with contaminated-water damage when sewage is involved. Share the likely source and every room it reached when you call.
3. Remove accessible water without adding more moisture
For a small clean-water loss that is safe to approach, remove accessible standing water before relying on air movement. Use methods suitable for wet floors and avoid a regular household vacuum, which is not made for water extraction. Keep the work focused on removing water, not on scrubbing, refinishing, or applying household chemicals to a floor whose moisture condition is still unknown.
Do not assume the floor is dry because a towel comes back mostly dry. Water can sit at board seams, along walls, beneath appliances, and at transitions into another room. If the floor is wet near a cabinet, baseboard, or doorway, the concern is not only the visible surface. It is whether water has traveled beneath or beyond it.
4. Look for clues, but do not diagnose the floor by sight
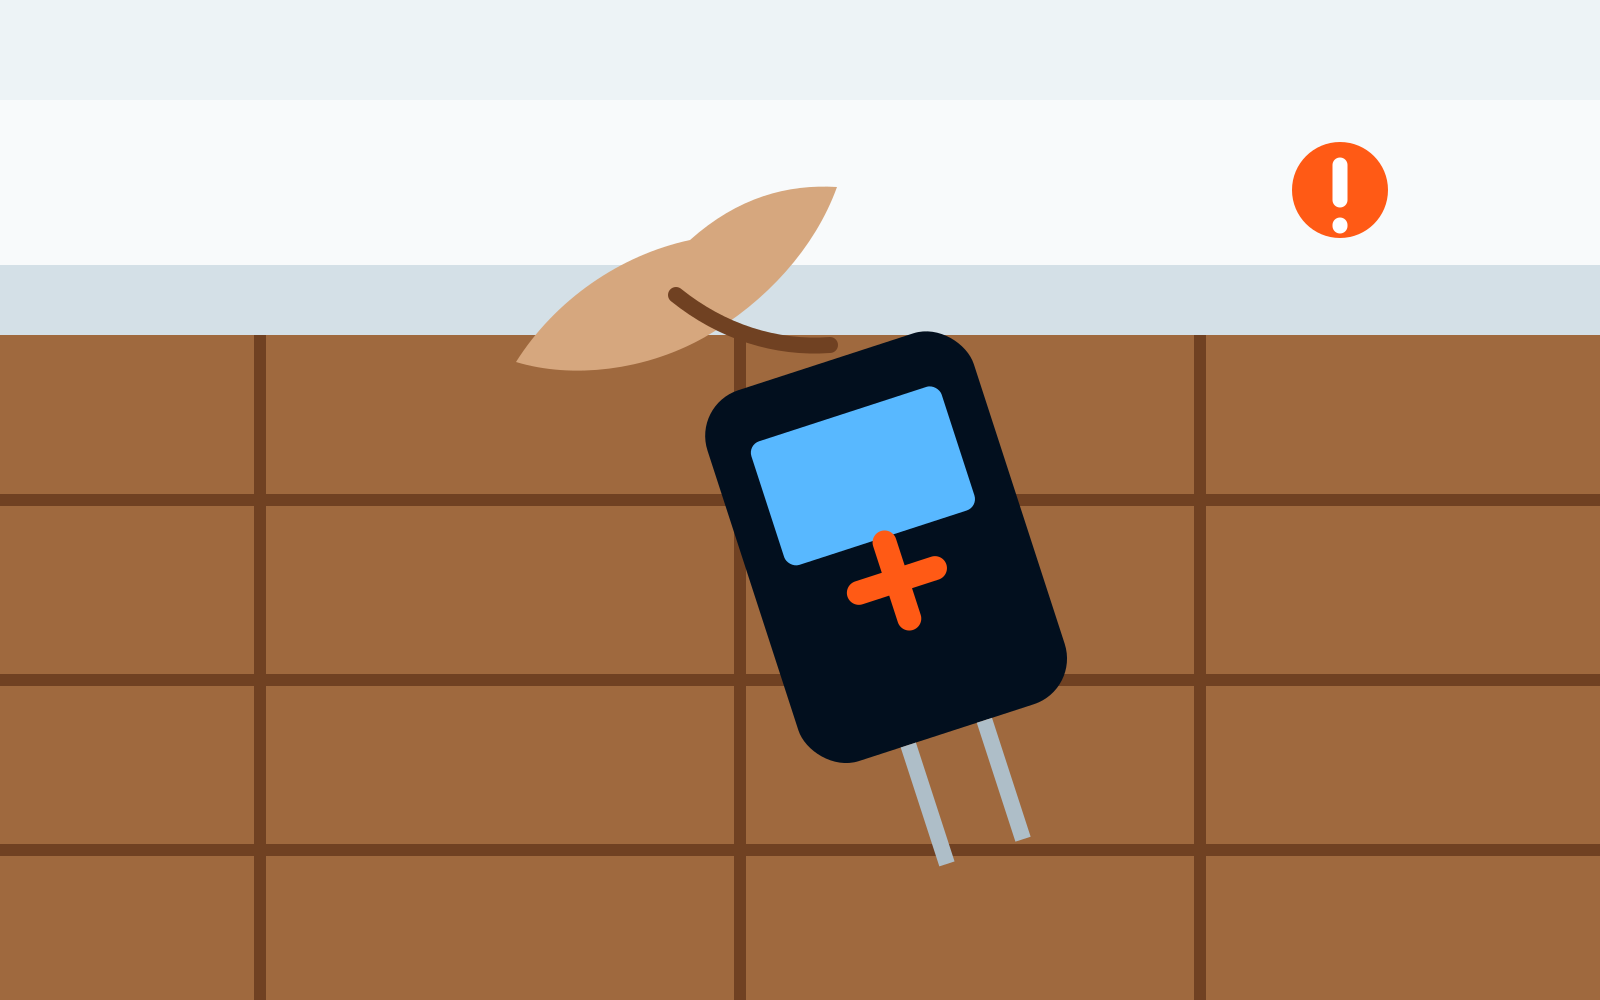
Hardwood can change shape as its moisture condition changes. Raised edges, a slightly concave board face, lifted areas, gaps, darkening, or a different feel underfoot are reasons to look closer. They do not tell you by themselves how far moisture reached or whether the floor can stay in place.
Check the perimeter as well. Swollen baseboards, wall staining, damp trim, cabinet toe-kicks, or water beneath nearby furniture can show that the loss extends beyond the boards you can see. Our guide to signs of water damage under finished floors explains why surface conditions can miss hidden moisture below.
Do not pry up boards or remove trim to investigate unless a qualified professional has determined that access is needed and safe. Unplanned removal can damage a floor that might otherwise be retained, create a trip hazard, and make it harder to document the original condition.
5. Dry the floor assembly, not just the top surface
A hardwood floor is part of an assembly. The wood, finish, underlayment when present, subfloor, and nearby wall materials do not absorb or release moisture at the same rate. A room may feel more comfortable after the visible water is gone while moisture remains lower in the assembly or at the edges.
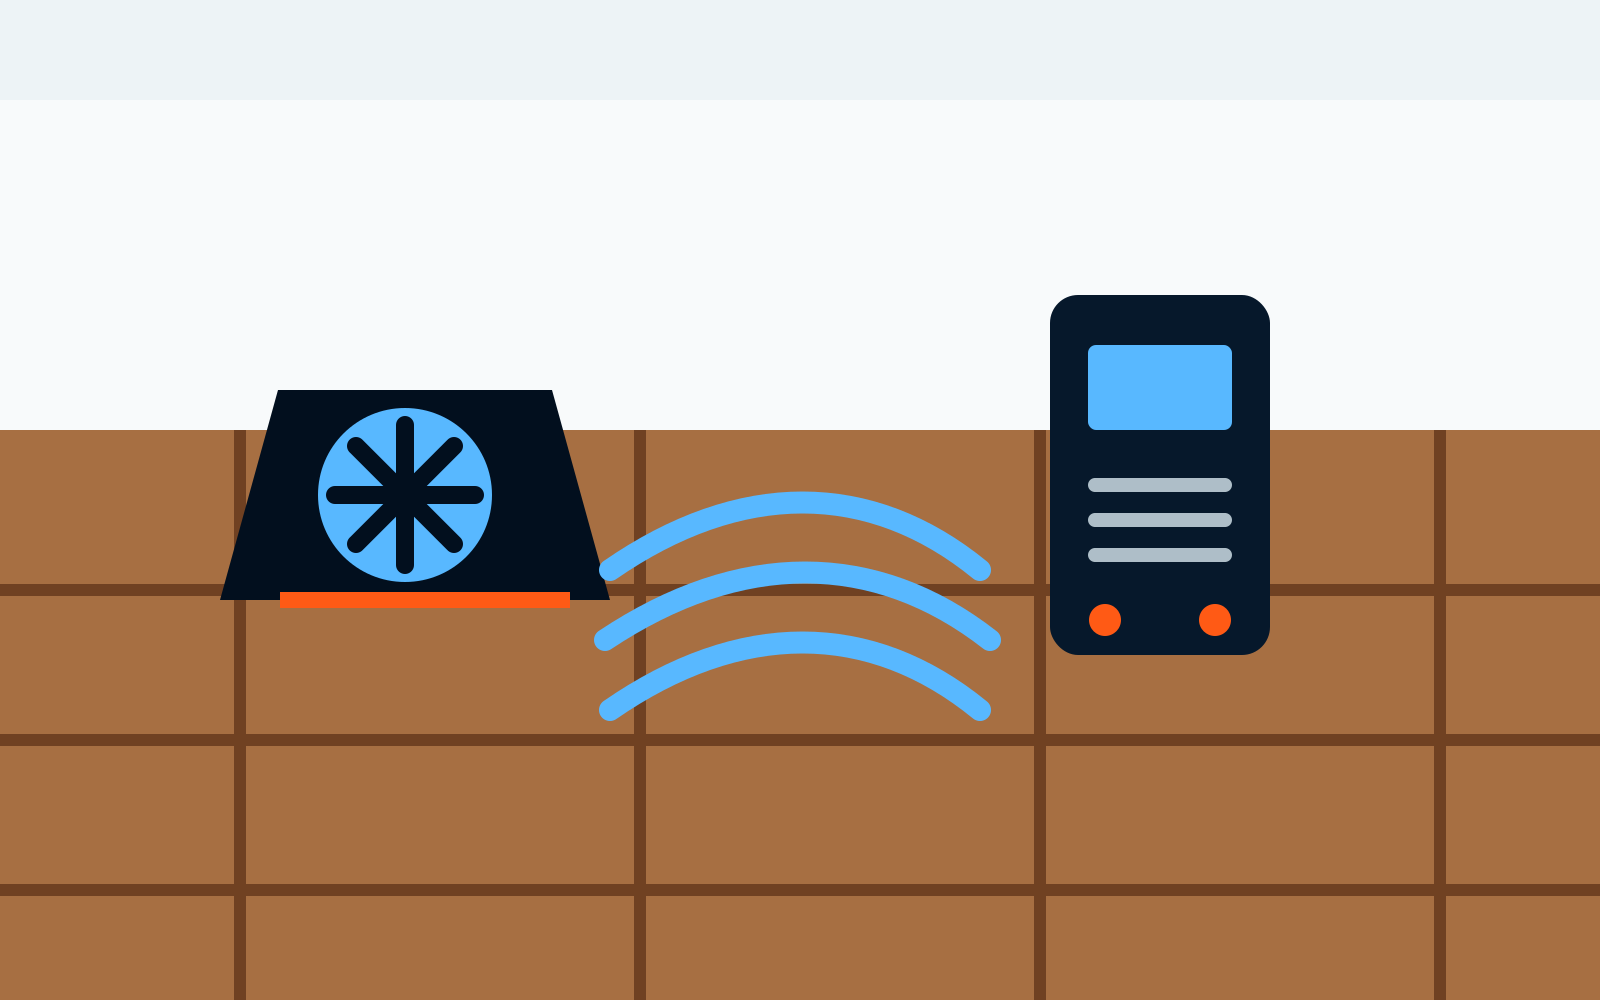
Controlled drying uses air movement, dehumidification, and moisture checks based on the materials and the water path. The purpose is to move moisture out of affected materials and manage the room conditions while checking progress. A household fan may move air, but it cannot tell you whether the floor, subfloor, or perimeter is dry.
Do not switch off drying equipment just because boards feel dry to the touch. Read why drying equipment can run for several days to understand why readings and conditions guide the stopping point instead of a promise about the clock.
How the floor construction affects the next step
Hardwood is not one identical material. Solid boards, engineered wood products, prefinished floors, site-finished floors, and the layers below them can react differently after a loss. A floor with the same visible stain as another property may have a different moisture path, a different subfloor, or a different condition beneath the surface. That is why a photo or a quick visual check cannot settle the scope.
The practical goal is not to make a flooring decision before the floor is dry. It is to preserve safe options by stopping the source, removing accessible water, checking the surrounding assembly, and tracking the material condition. If boards eventually need permanent repair or replacement, that decision is better made after mitigation has addressed the water and documented what was affected.
6. Know what a moisture assessment changes
Moisture assessment helps identify which materials are affected, which nearby areas remain dry, and how the condition changes during drying. That is more useful than guessing from one wet board or one dry-looking corner. It also makes the handoff clearer if permanent flooring repair is eventually needed.
For homeowners, businesses, and property managers, a measured assessment avoids two costly assumptions: removing material before its condition is understood, or moving to repairs while moisture is still present. It gives everyone a better picture of the mitigation stage before a flooring professional or repair contractor considers finish work.
A practical checklist before the assessment
When you call, note when the water was first discovered, whether the source has been stopped, which rooms are affected, and whether water reached walls, cabinets, rugs, or another floor covering. Mention any change in the floor, such as lifted edges, an uneven feel, discoloration, or water appearing at a doorway. If a business or managed property is involved, also share whether the area needs to be kept clear of staff, tenants, customers, or residents.
Photos are useful when they can be taken without entering an unsafe area. Capture the source when possible, the water at the floor, room edges, and affected belongings. Do not move heavy furniture alone, walk through water near electrical hazards, or place yourself at risk to get documentation. A clear description of the source and the affected materials is more useful than a risky inspection.
It also helps to keep source repair, mitigation, and permanent repair separate in your notes. A plumber or appliance professional addresses the active leak. FloodMasters assesses the moisture path and handles mitigation and drying. A flooring or repair contractor handles permanent finish work after the property is dry and stable. That sequence keeps the immediate decision focused on protecting the property rather than trying to solve every later repair at once.
What not to do after hardwood floor water damage
Do not use high heat, sand the floor, apply a new coating, or try to force a rapid cosmetic fix while the materials are wet. Do not use bleach or strong cleaners on a contamination concern in an effort to make it safe. The water source and material condition determine the appropriate cleanup and drying scope.
Do not wait for a musty odor or visible mold before acting. The EPA advises fixing leaks and drying items completely. If an odor develops or the water reached adjacent walls, review what a musty smell after a leak can mean and arrange an assessment instead of covering the concern with fragrance or finish products.
How FloodMasters helps after water reaches hardwood
24 Hr FloodMasters handles the mitigation stage: emergency water removal, moisture assessment, controlled drying, affected-material removal when needed, and documentation. We assess how water moved through the property and explain the next mitigation step. We do not perform permanent reconstruction, refinishing, or flooring replacement.
Once the property is dry and stable, the appropriate flooring or repair contractor can evaluate permanent repairs. Keeping those roles separate helps homeowners, businesses, and property managers make decisions from the actual condition of the materials, not from a rushed promise about what a floor will look like.
For broader information about the measured drying process, visit structural drying and moisture mapping. If water has moved beyond one room, emergency water mitigation explains the wider response.
Concerned about water under a hardwood floor?
Call 24 Hr FloodMasters for a clear next step. We handle emergency mitigation, moisture assessment, controlled drying, affected-material removal when needed, and documentation for homeowners, businesses, and property managers across Central Texas.
Call (254) 482-1151

